
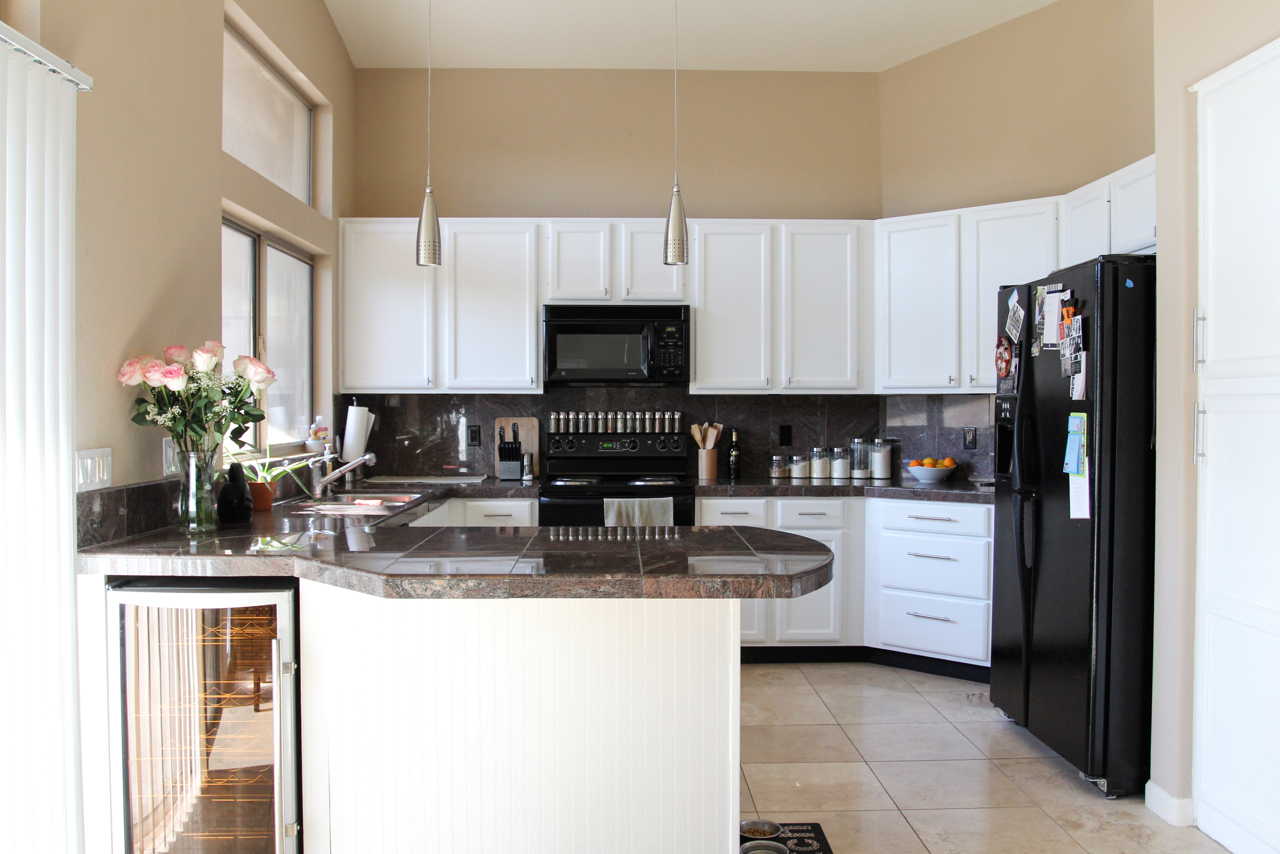
We finally did it! We had been wanting to paint or stain our kitchen cabinets from the moment we moved it, but money, time, & energy kept us from taking the plunge. But we actually did it. We took on our biggest house project yet by painting our cabinets white & adding some hardware. This project most definitely took a lot of time & energy. I’m not going to lie; there were times I wanted to give up & cry. But we kept going, & I’m so glad we did. It was not easy, but it was totally worth it. I won’t give a detailed list of what we did, but if you have any questions, I’ll be sure to reply ASAP in the comments below.
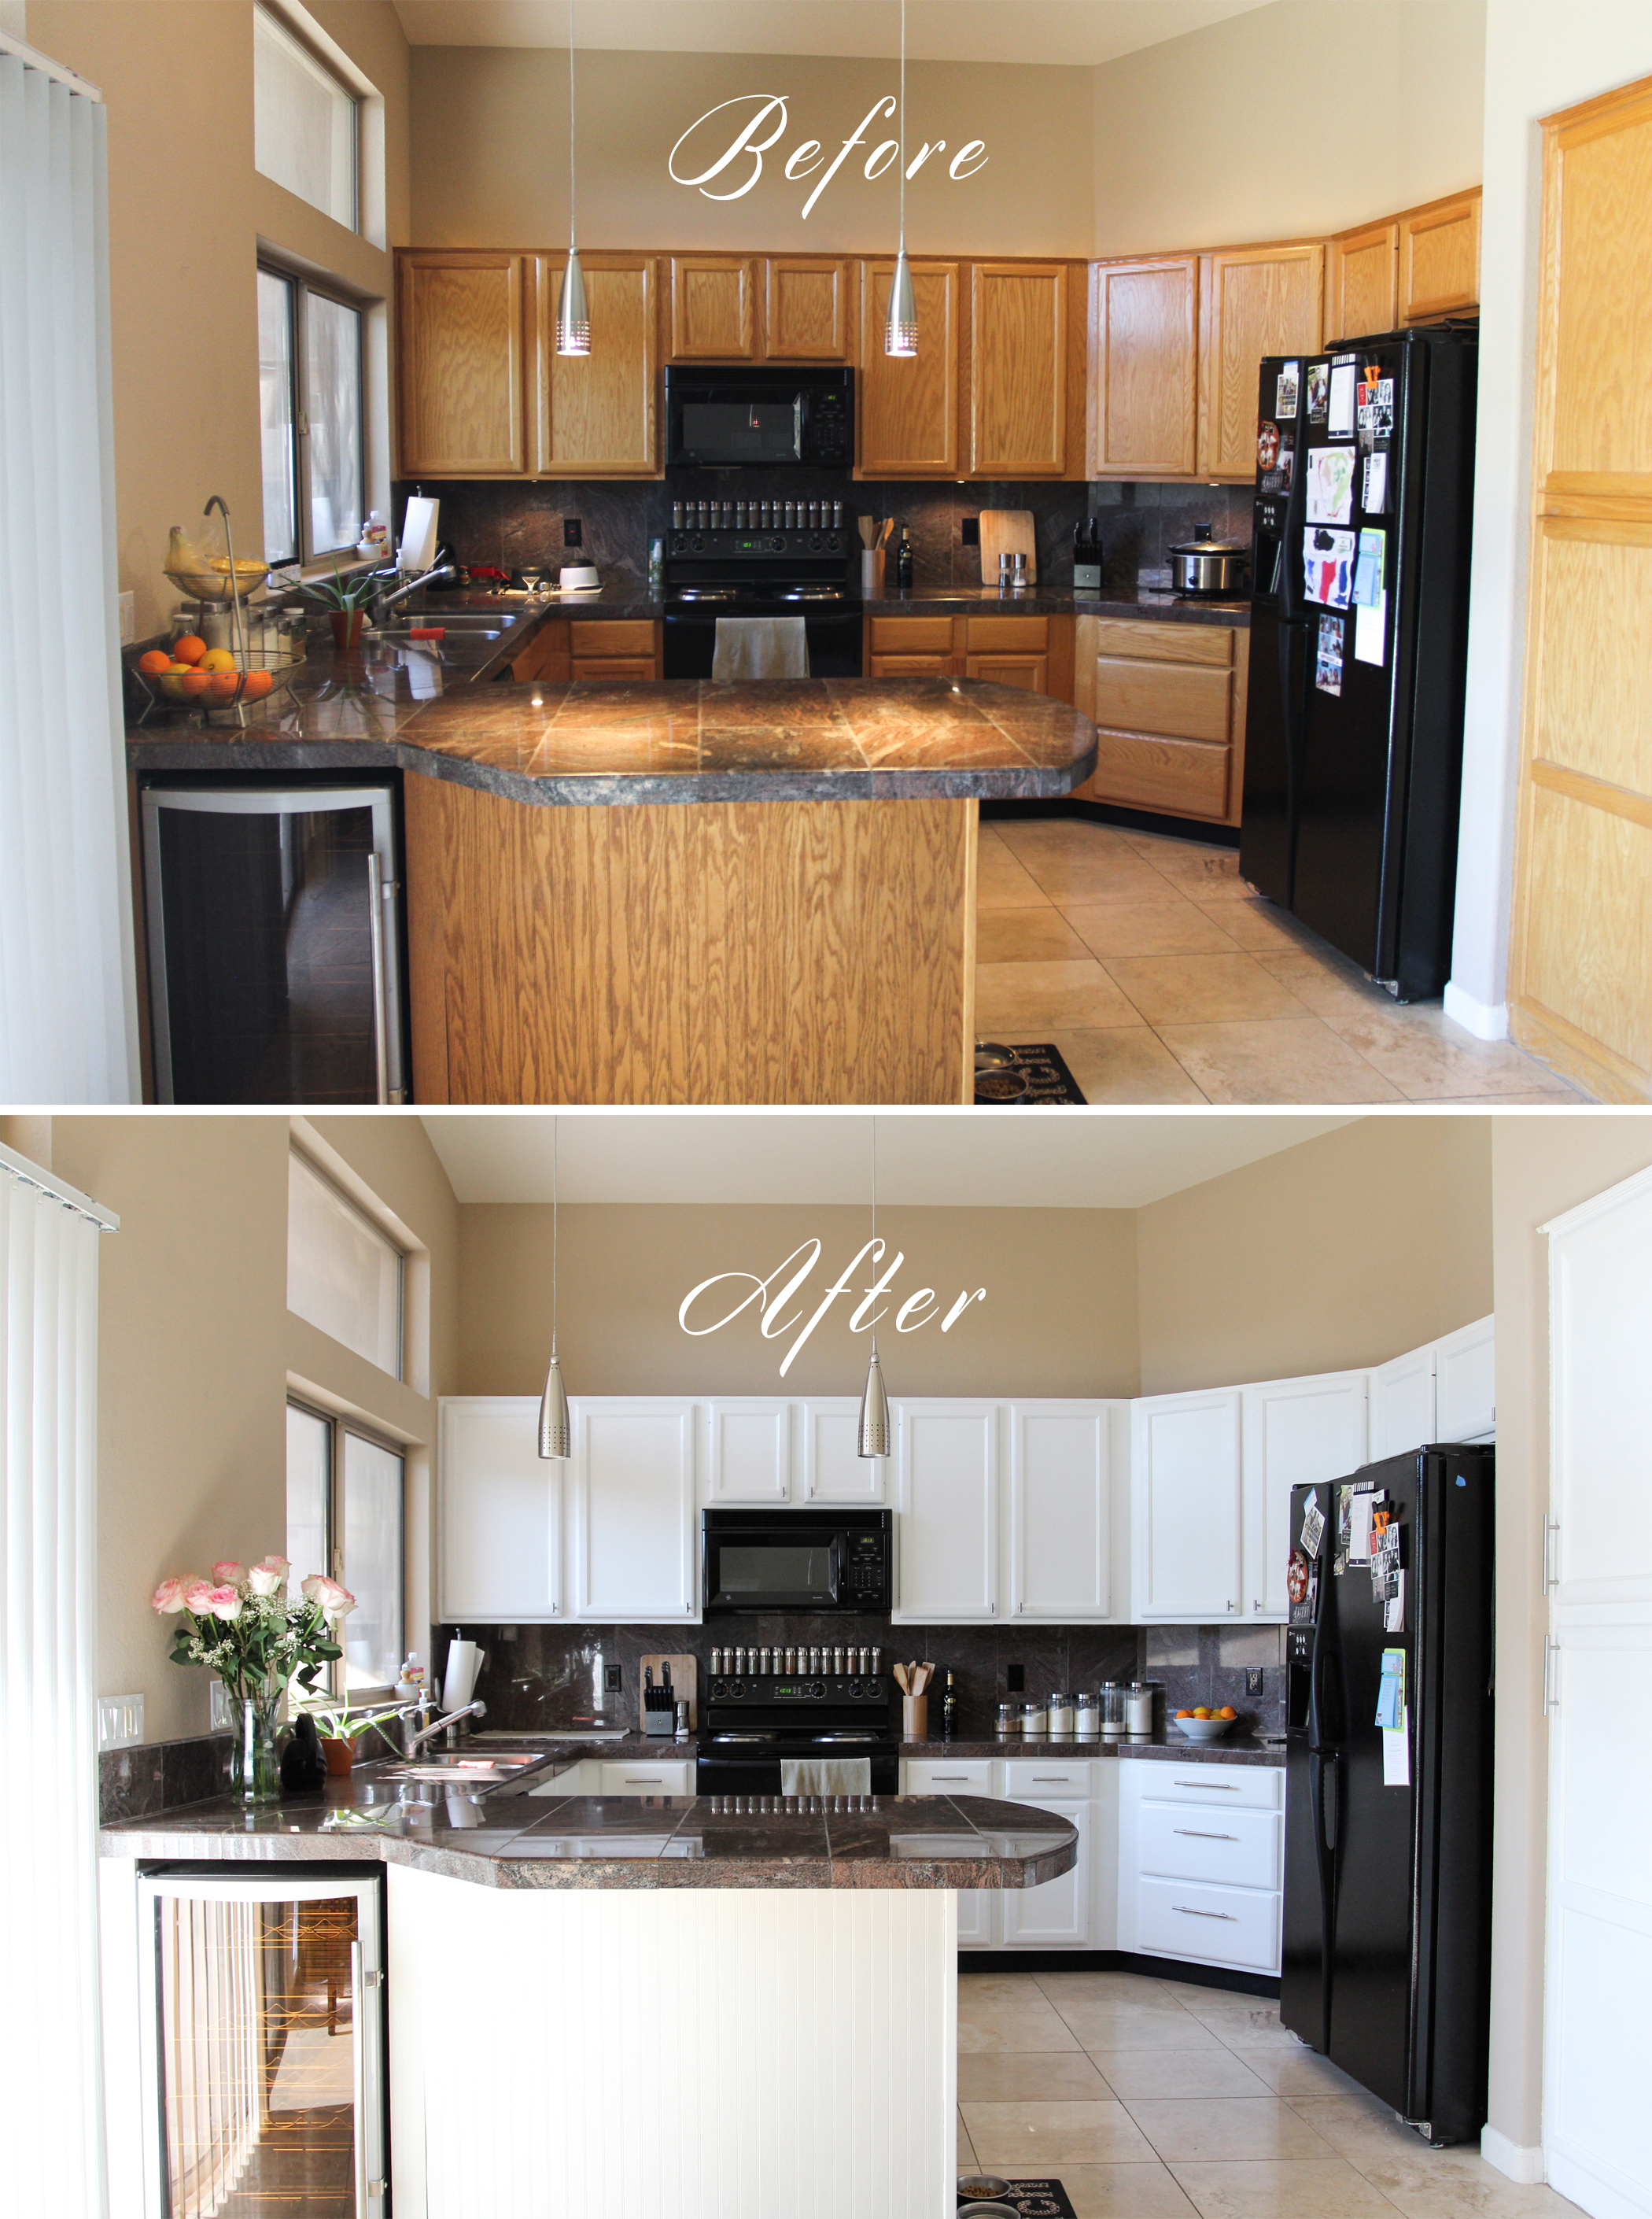
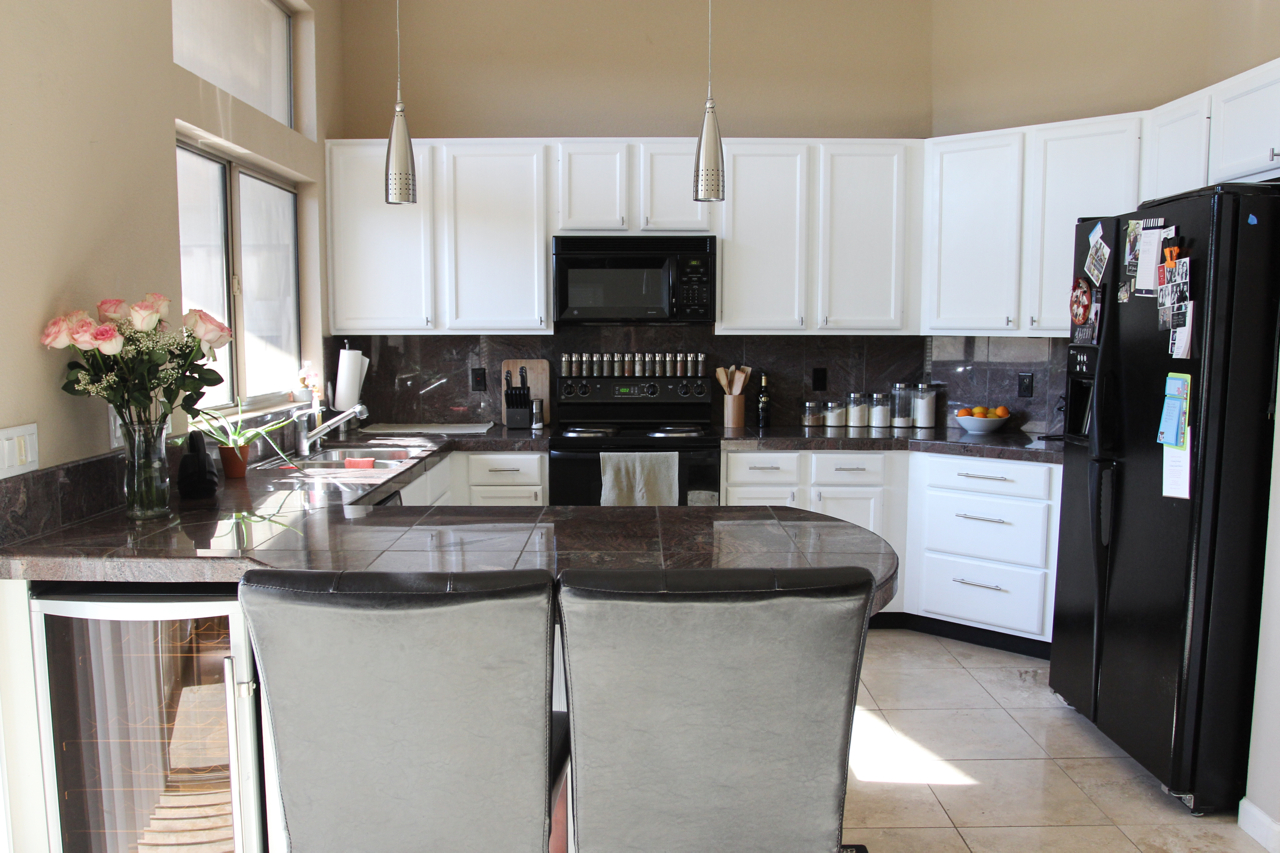
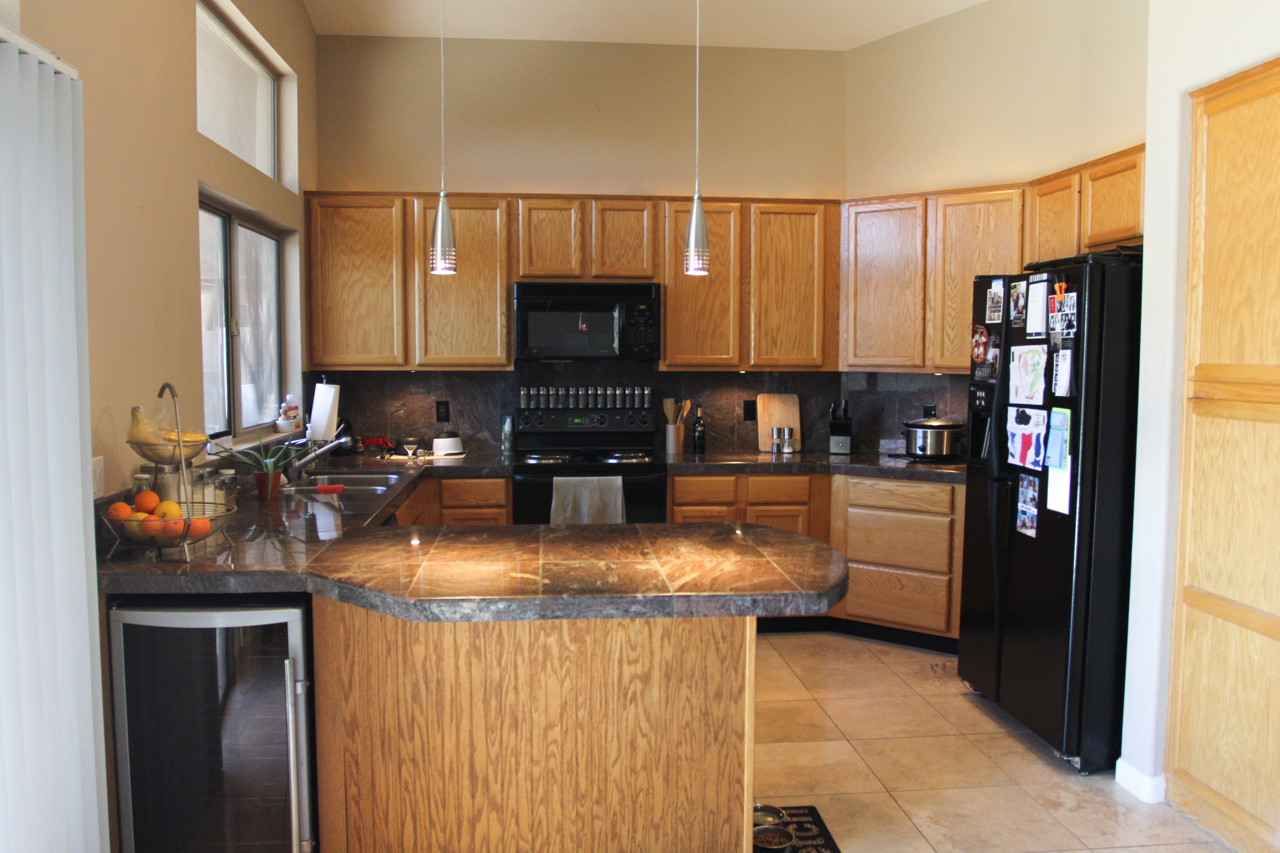
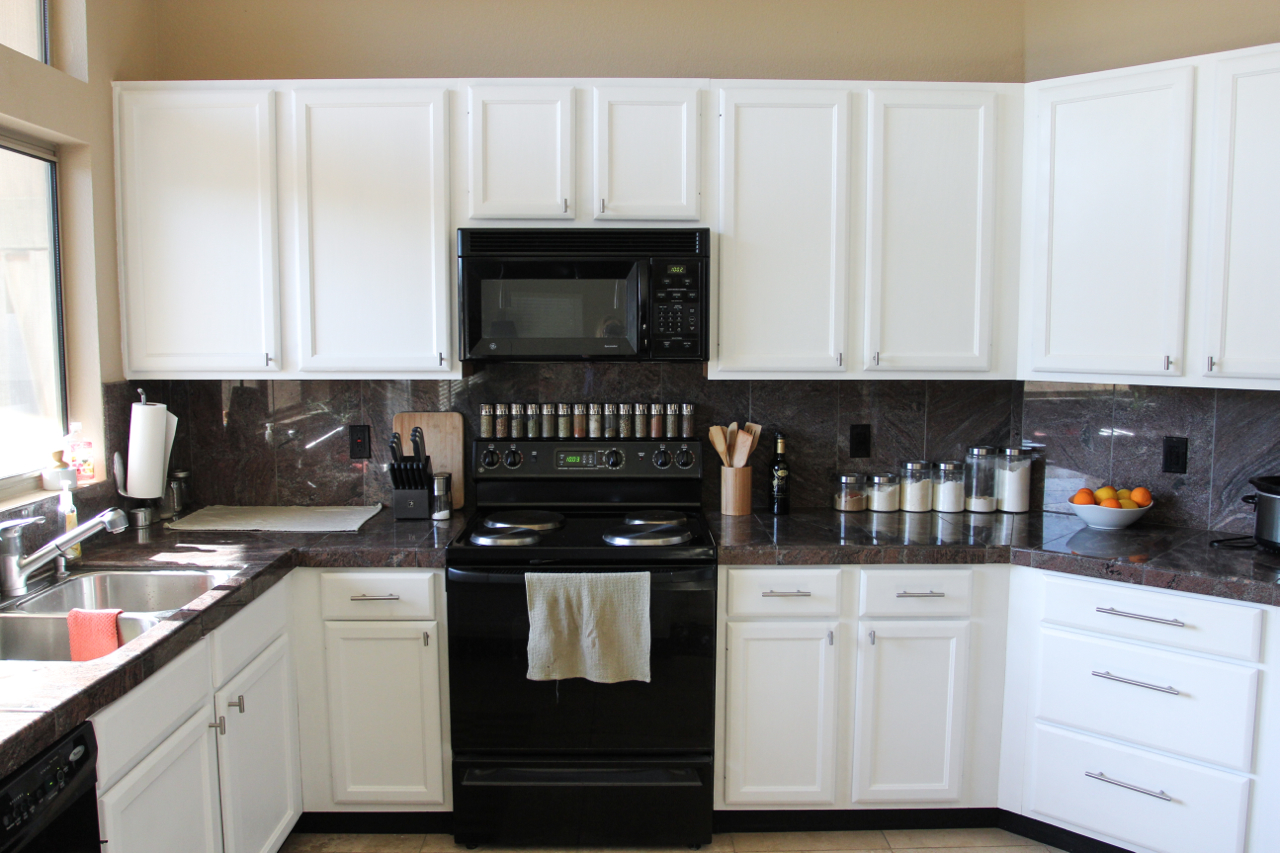
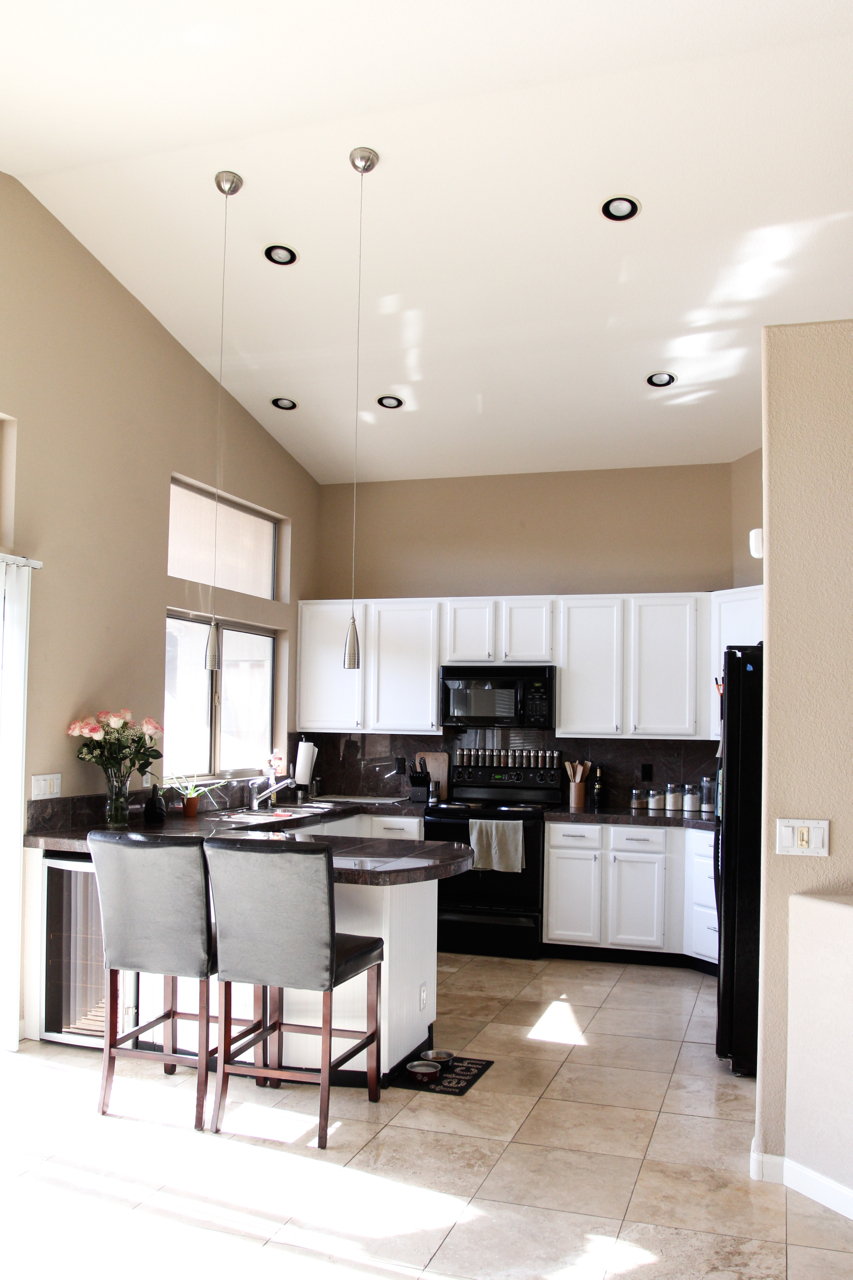
Ok, now that is an amazing before & after!! When we were adding the hardware & the kitchen was a mess, I hadn’t realized the impact it made in the house. But looking at the “before” picture just blows my mind. I can’t believe my husband & I did that (with lots of help from my in-laws)!
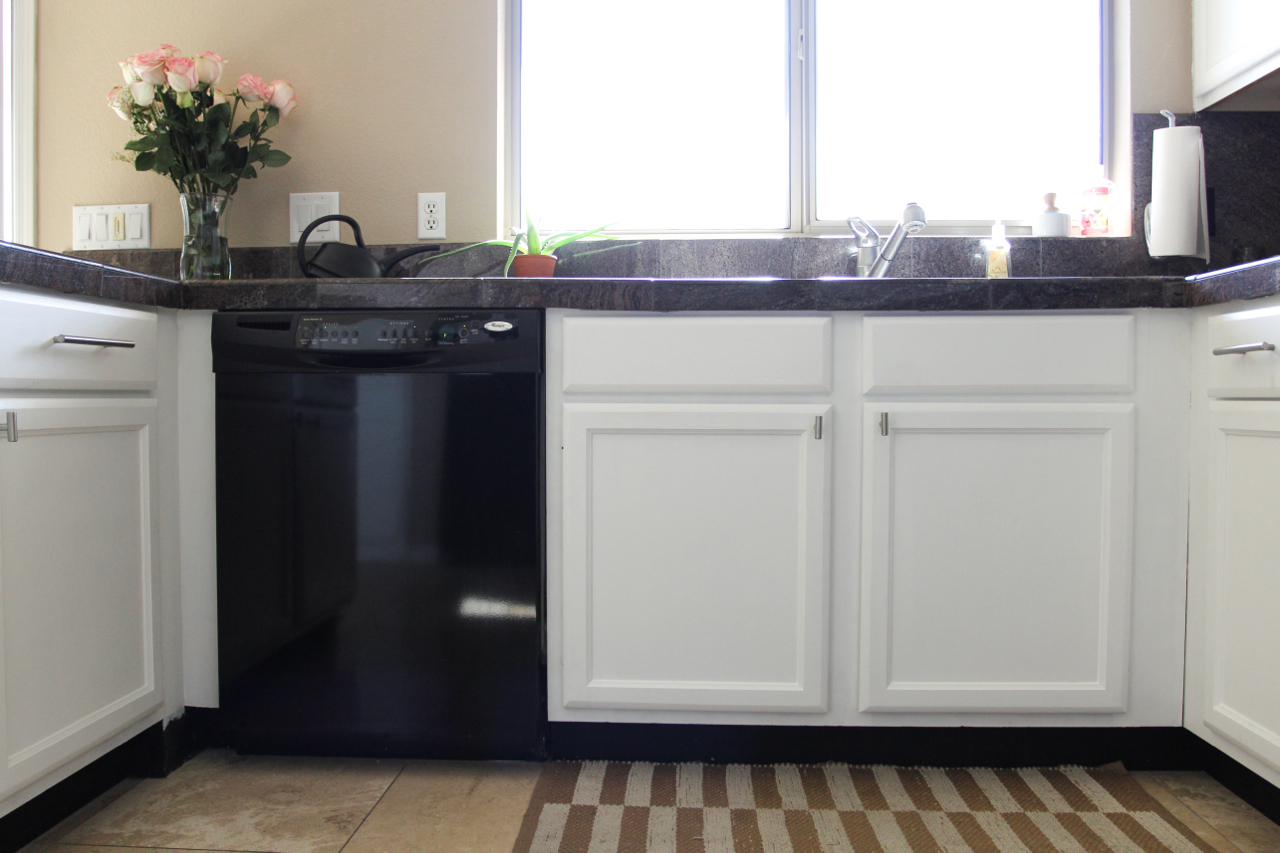
1. Remove all doors, drawers, & everything inside the cabinets. Make sure to also remove the “drawers” from under the kitchen sink (the ones that don’t pull out). They can be tricky to remove, but it will help a TON!
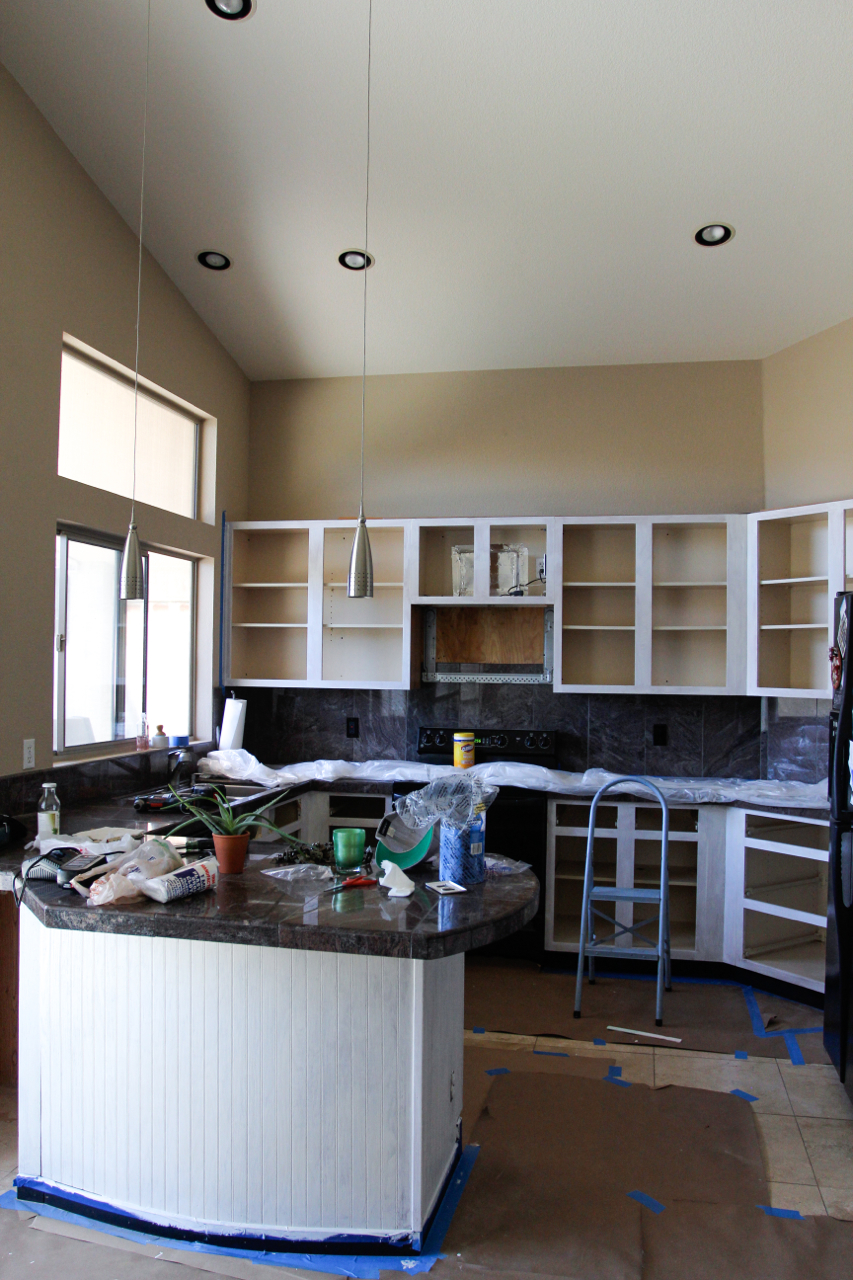
2. Place tape around the edges as well as plastic wrap on the countertops & construction paper on the floor. It will get super dusty from sanding.
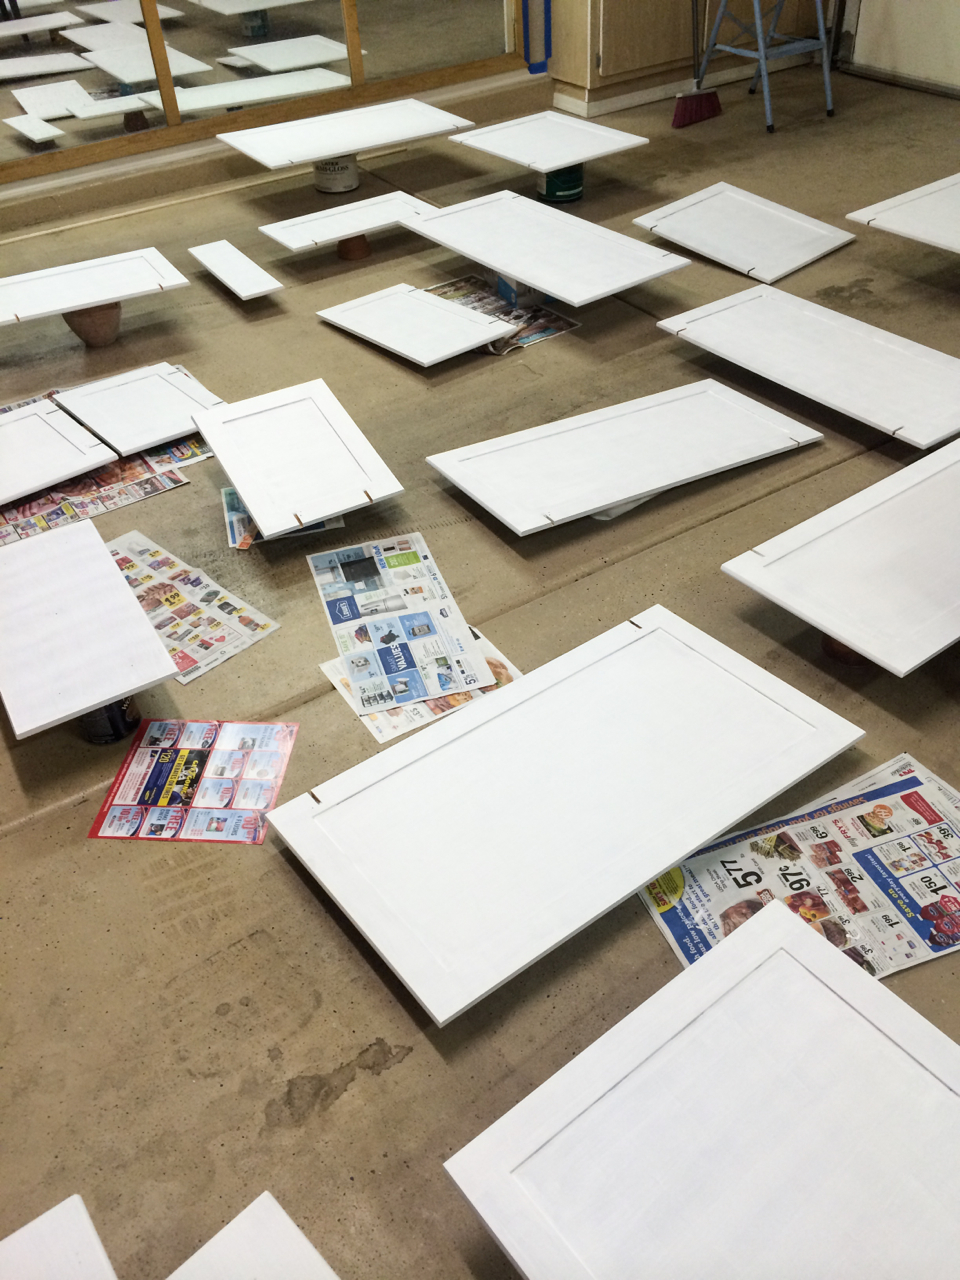
3. Your garage is the perfect place to paint & sand. Especially when the weather is perfect & you can keep the garage door open all day. Sand everything & wipe down with either a tack cloth or Clorox wipes like we used.
4. Prime everything. Sand with a fine grit paper & wipe down again. Paint everything with a small foam roller & a brush for corners. We used Behr Marquee ultra pure white in flat. We probably should’ve used a satin instead, but we sprayed Polycrylic at the end of painting to seal everything in & help with cleaning. We did 3 coats of paint on the doors & drawers & two coats inside on the border of the cabinets.
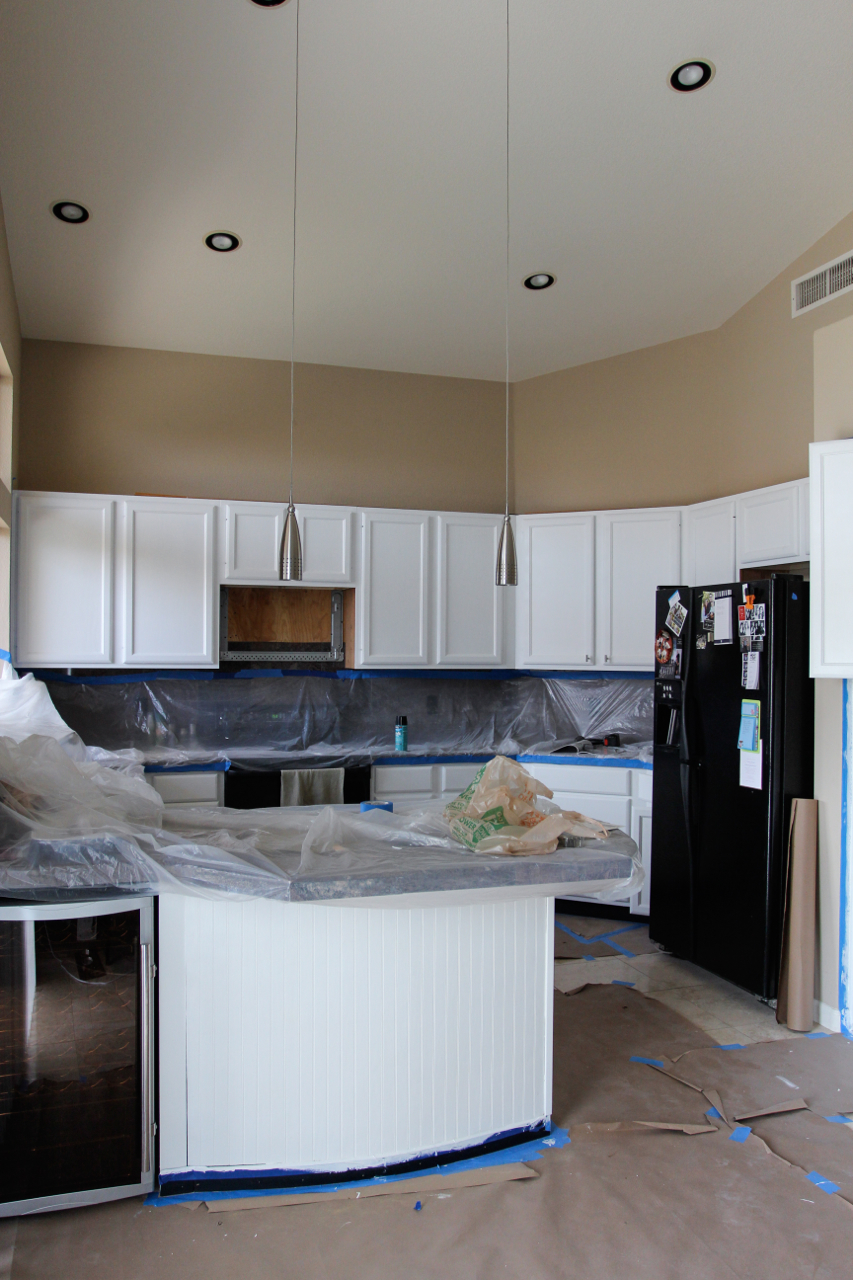
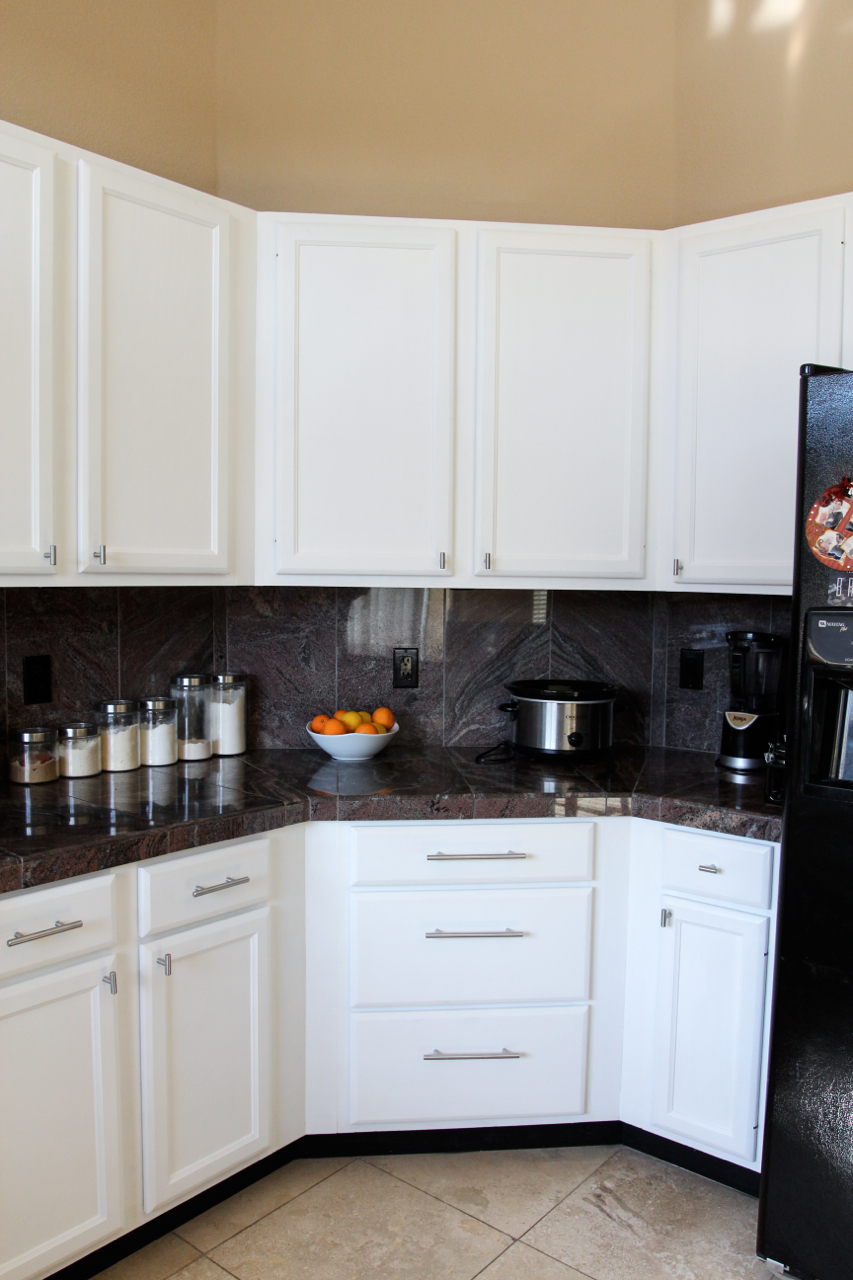
5. Put everything back together. Add hardware if you want. I highly suggest adding or changing the hardware because it will make a big difference. Even our small knobs add a lot. Remove paper & plastic, clean (it’s dusty), & put your stuff back in the cabinets. I am also super glad we did this makeover because I got do deep clean our kitchen & cabinets & reorganize some things. A clean freak/perfectionist’s dream!

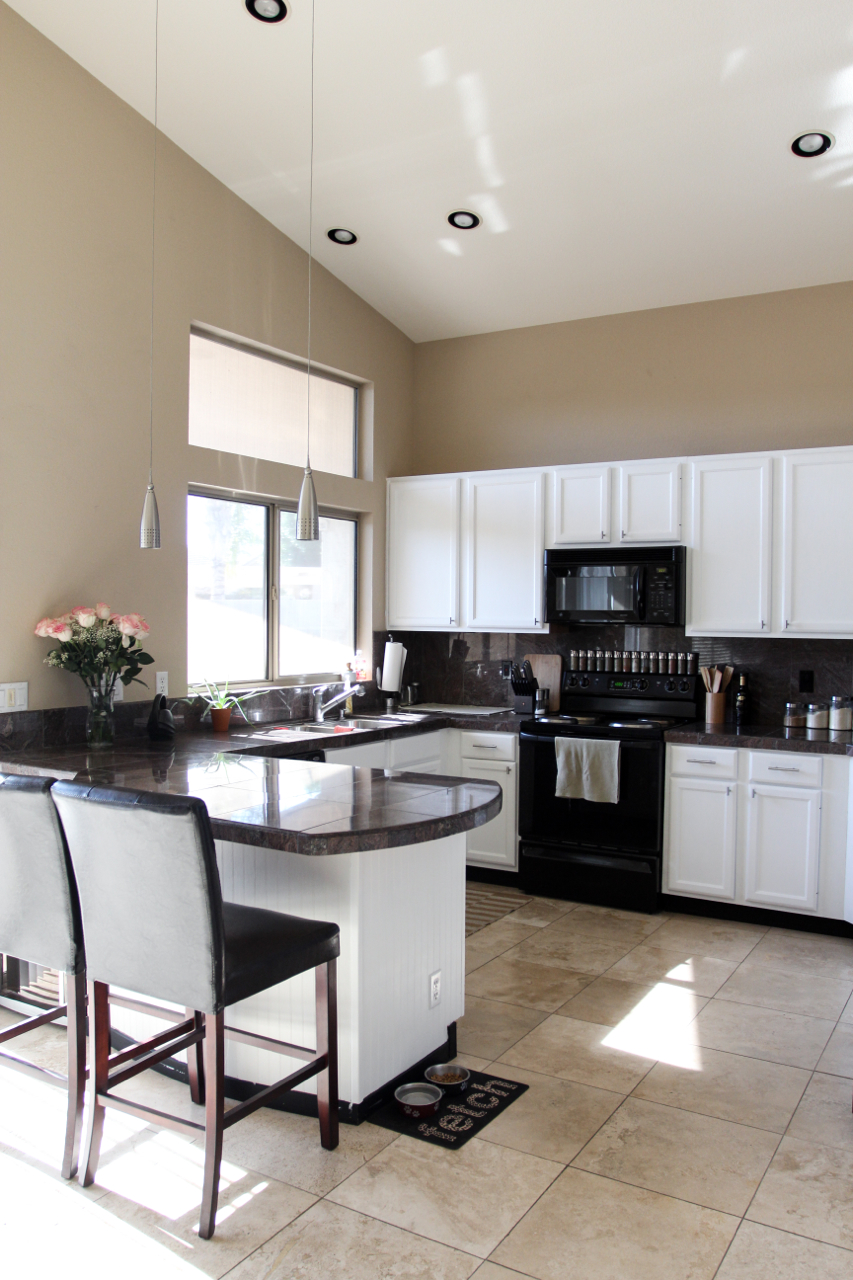
This whole project with the hardware included cost around just $350!!
Next up on our wish list is to paint the whole house!

Wow looks amazing! How long did it take you?
Thank you! It took two full days to disassemble, sand, prime, paint 3 coats, & re-attach the cabinets. And I’d say another full day to spray the polycrylic, add hardware, & stock up the cabinets again.
That looks incredible! You forgot to mention the liquid that you put in the paint to help eliminate paint brush strokes. We have friends that painted their cabinets white, but the cabinets are covered in brush strokes, and that was a big regret for them.
Oh yeah, thanks for the reminder! I was going to ask Griffin what the product was called but forgot. I’ll add it soon.
Looks beautiful Bethany!
Thank you, Hannah!
Looks fantastic! Great job!
Thank you so much!
We literally just finished this project on our kitchen tonight…and can relate to wanting to cry and give up. I’m so glad we painted the cabinets we had rather than buying new ones! It was amazing to see that a kitchen reno really can be done on a budget. : )
Haha awesome! I want to see a picture!
Great content. Thank you for sharing this informative post.